Agenda:
In this article, we will learn to create an SFTP enabled Azure BLOB Storage account and access the account container using private credentials with the help of SSH.NET library.
Pre-requisites:
1) .NET SDK (Any version)
2) Visual Studio Code
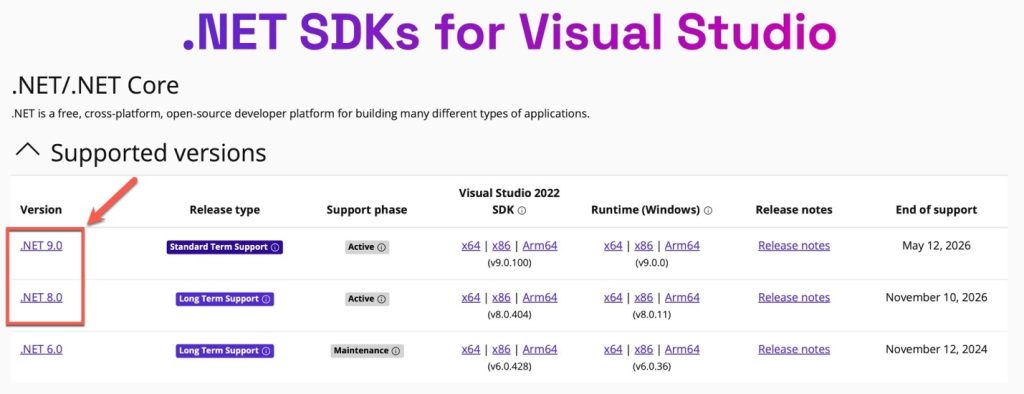
=> Download .NET SDK for Windows or Mac based on your operating system from https://dotnet.microsoft.com/en-us/download/visual-studio-sdks.
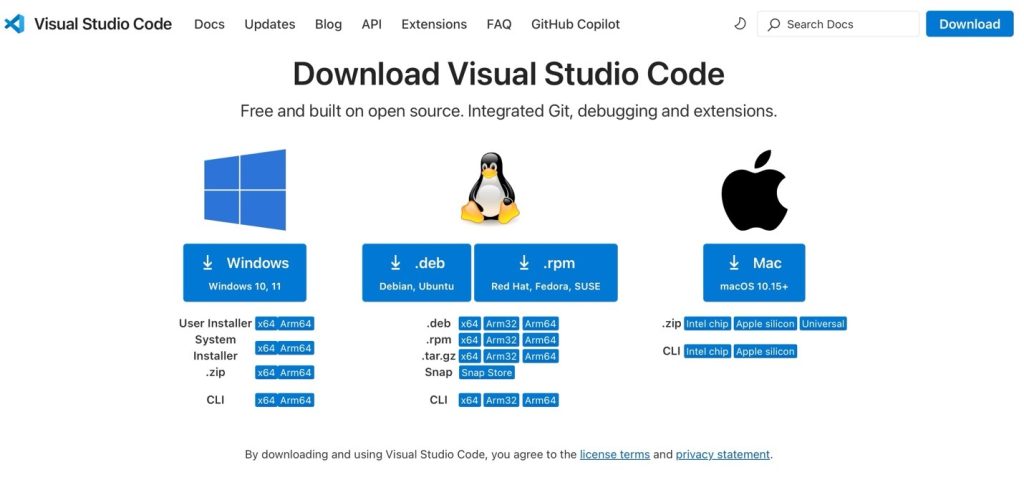
=> Download Visual Studio code from Microsoft’s official website https://code.visualstudio.com/Download
READ – Exploring the Future of Azure Data Lake: Trends & Innovations
Once you install .NET SDK, type the below command and you should see the result like below. If the result is something different, then there might be some issue with .NET installation.

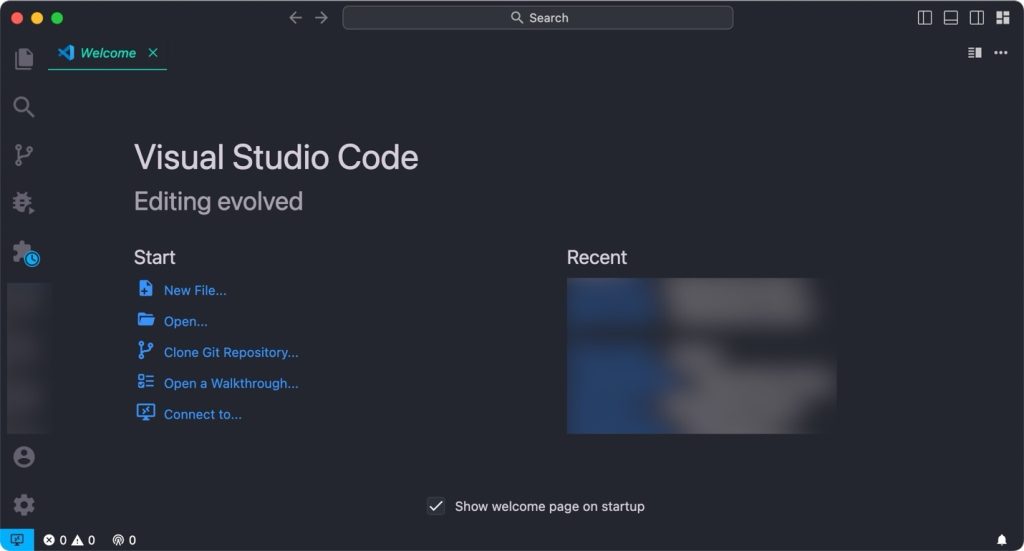
Once you install VS Code, just type “code”. In the terminal, and it should open Visual Studio Code GUI.
=> Creating an SFTP enabled Azure BLOB Storage
To smooth out data management and analytics, create a resource group that incorporates Azure Synapse Analytics for seamless Azure data factory integration runtime and proficient handling of large datasets.
Step 1: Create a Resource Group
=> On the home page of the Azure portal, you should see a tile with name Resource Group. If not, you can search it on the top search bar.
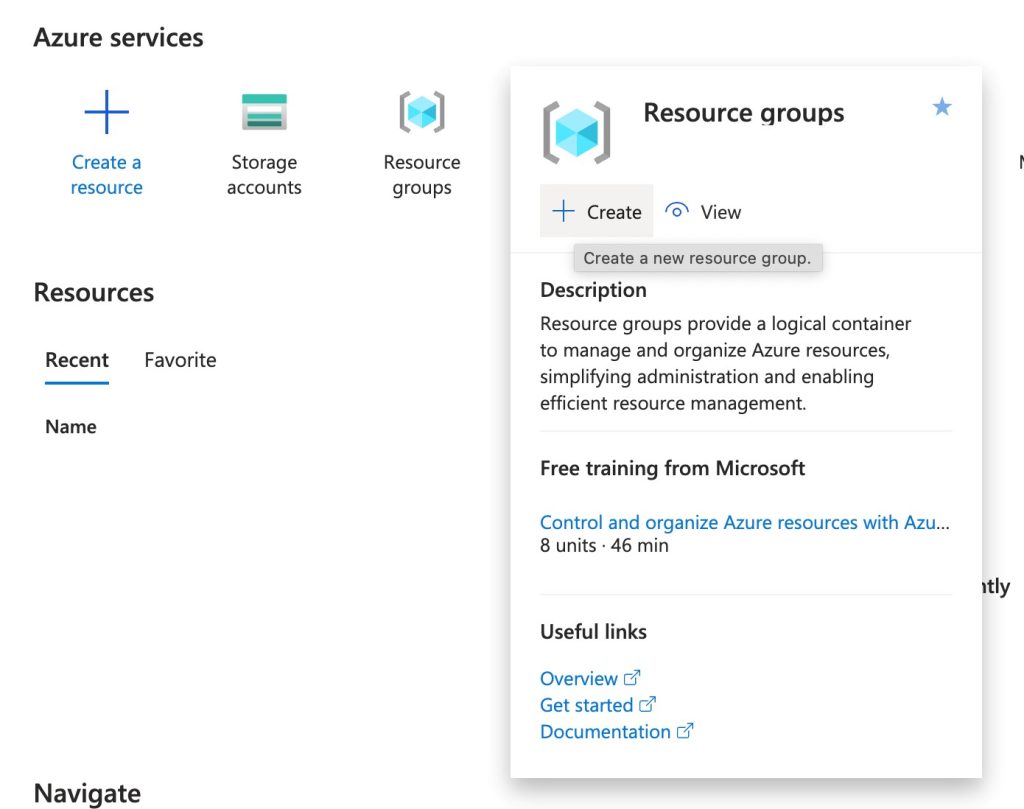
=> Click Create button in the Resource Groups popup, and you should see the below screen.
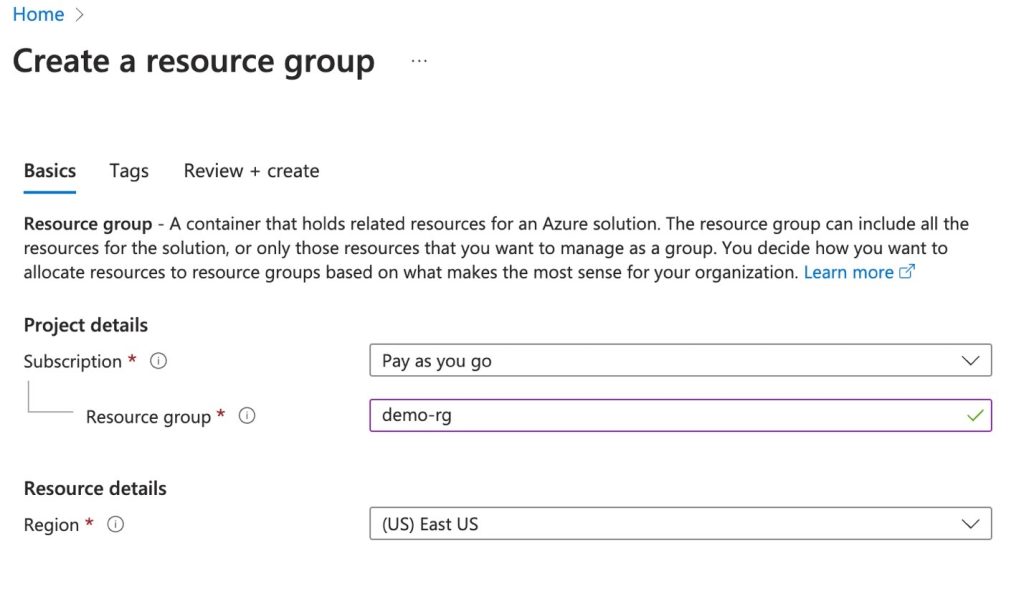
=> Enter the Resource group name and select a region as mentioned above.
=> Click Review+Create button and you will see the below screen where Azure validates the data entered by you.
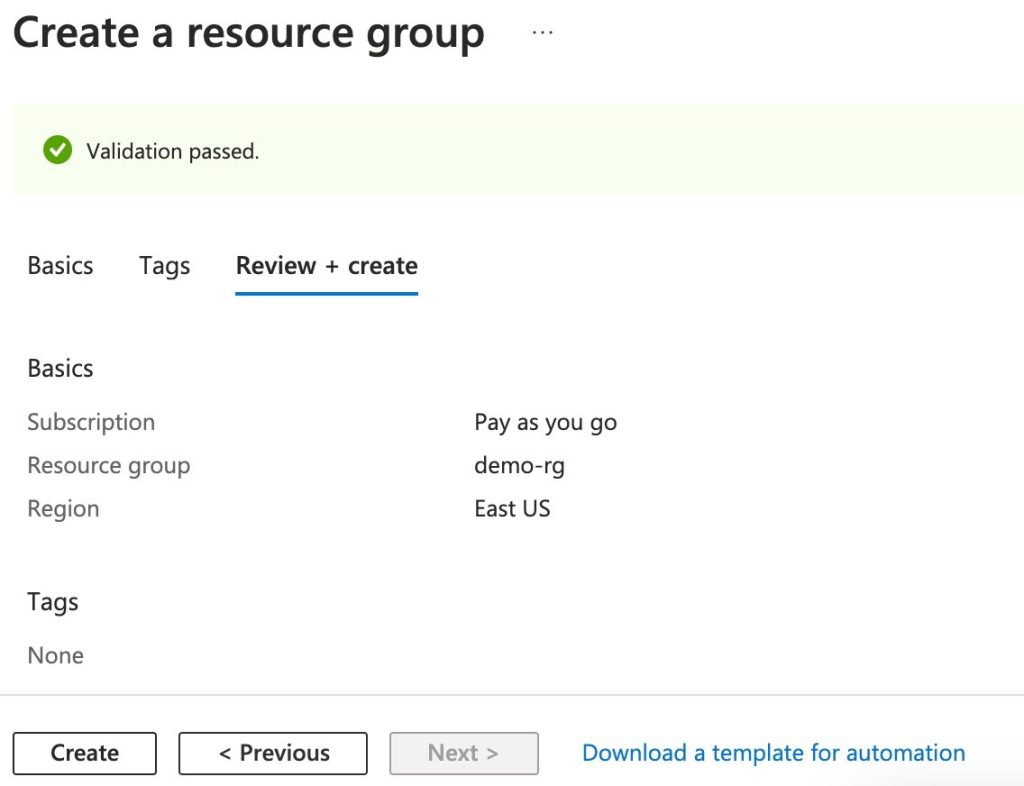
=> Finally click create button to create the resource group named “demo-rg”.
Step 2: Creating Storage Account for File Storage
=> Go inside the resource group and click create button.

=> Search for Storage Account and click Create button.
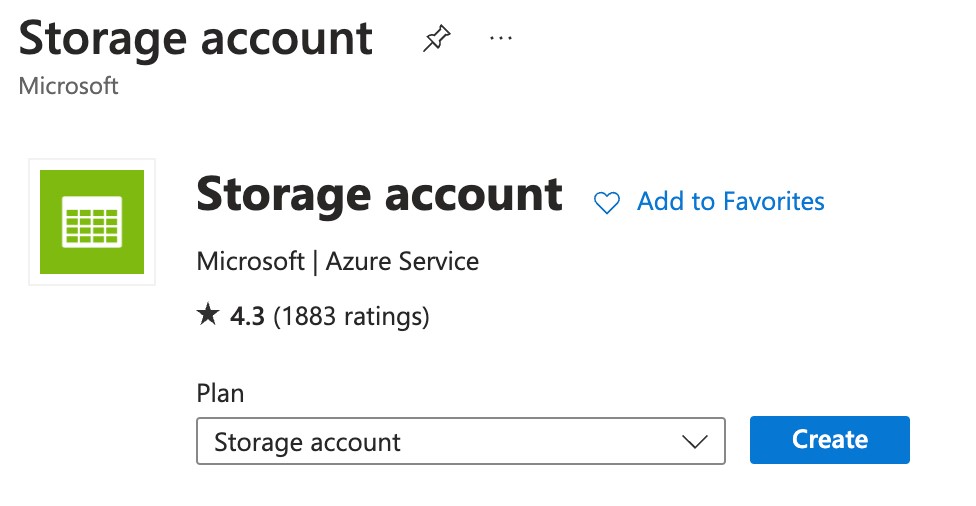
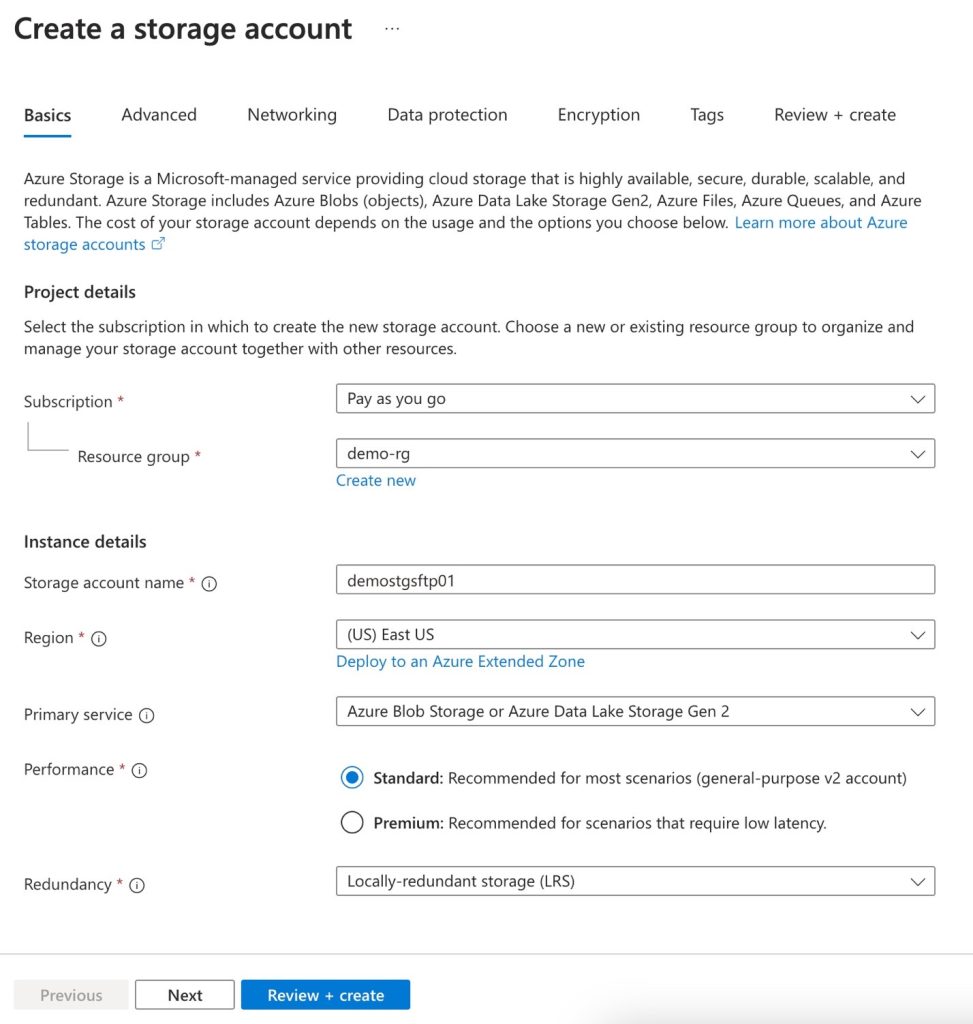
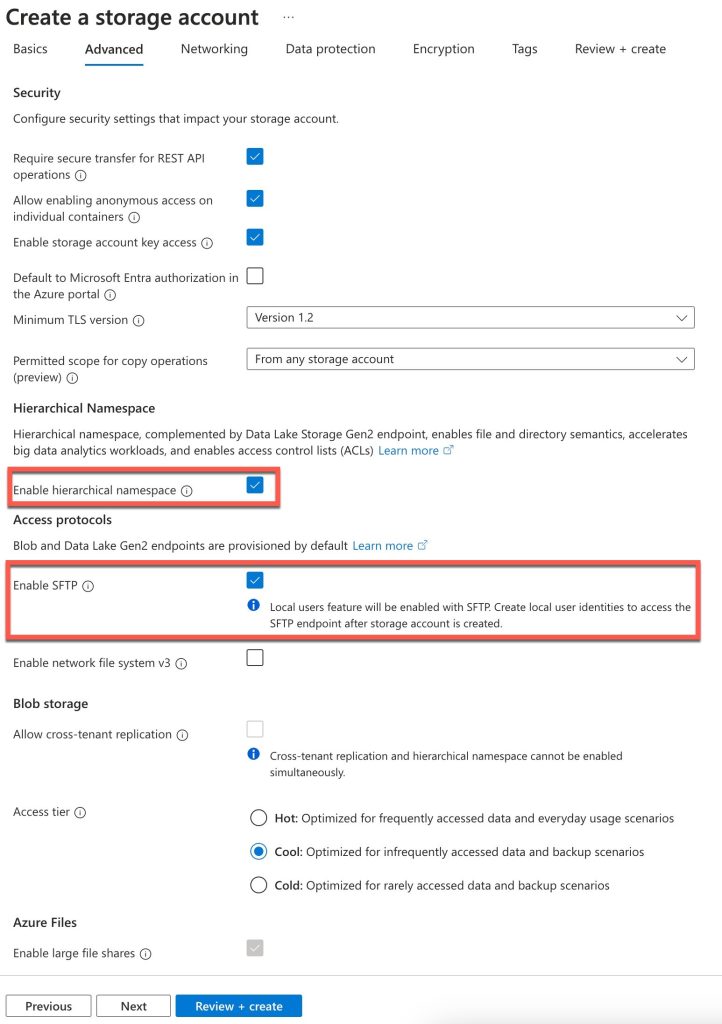
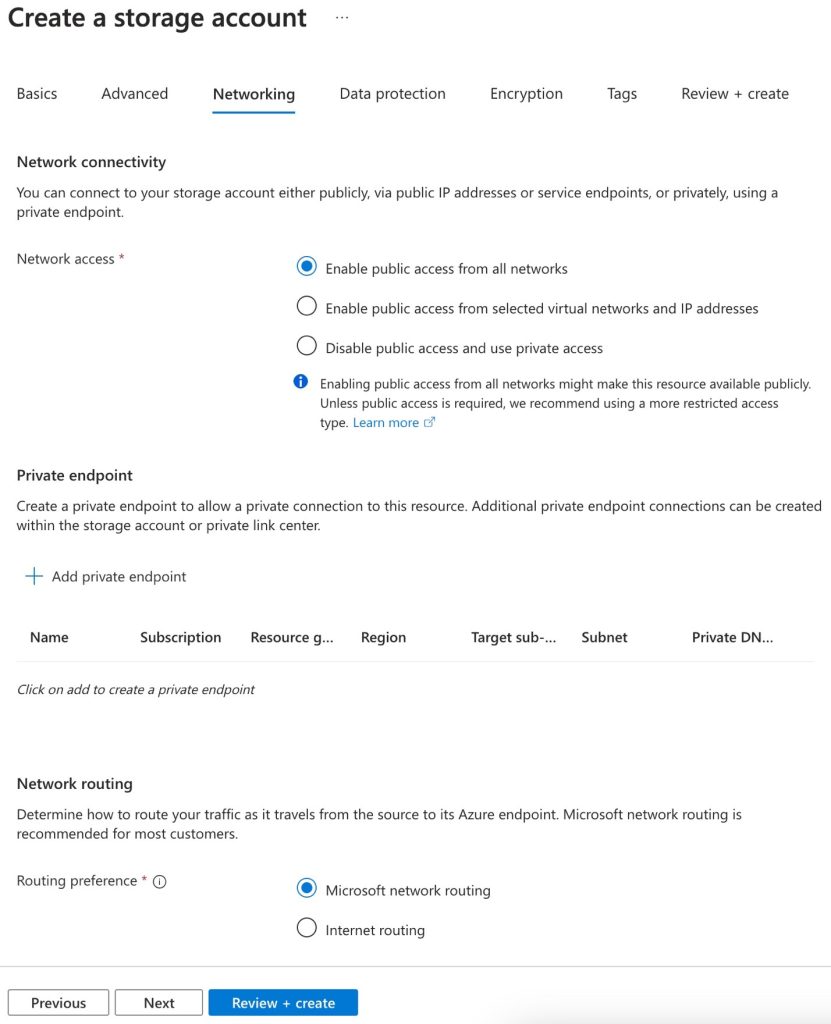
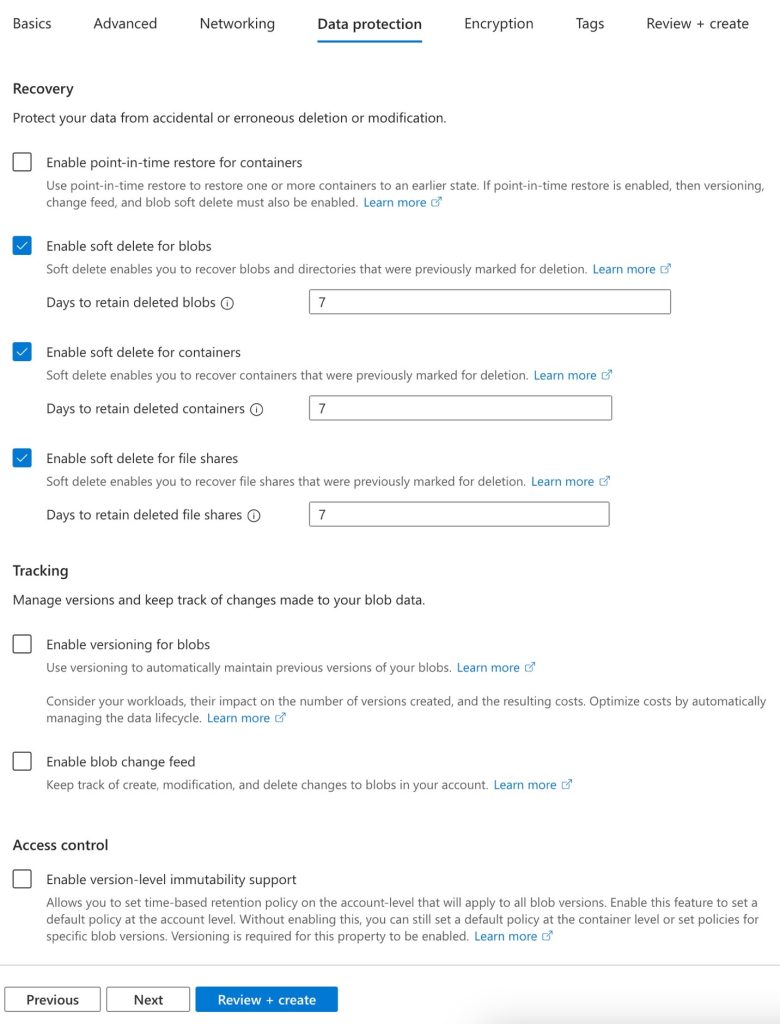
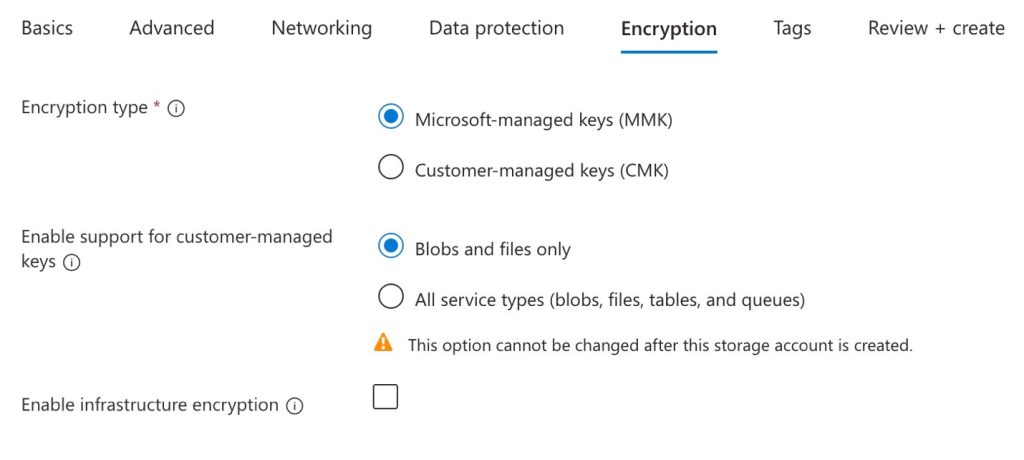
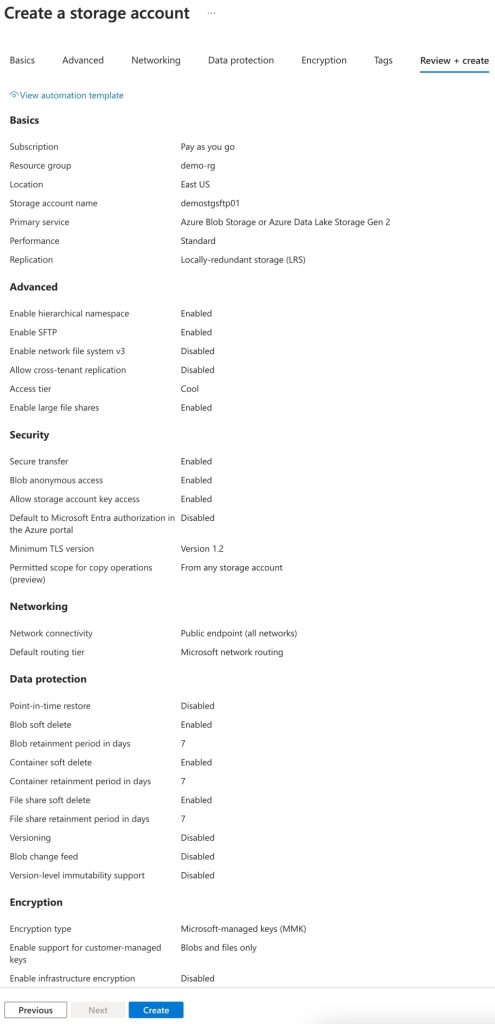
=> Once you click Create button, you will see Storage Account configuration wizard. Select the values as mentioned in the screenshots below.
READ – Essential 12+ Azure Data Factory Tools for Data Integration
Basics Tab:
=> The most important thing on this page is to select Primary Service as Azure Data Lake Analytics Gen 2.
Advanced Tab:
=> To enable SFTP features, you need to first select Enable Hierarchical namespace.
Networking Tab:
=> Keep everything same on this tab.
Data Protection Tab:
=> Keep everything same here as well.
Encryption Tab:
=> Keep everything same here as well.
=> Press Review + Create and you should see below screen. Verify all the details and click Create button to create the storage account.
READ – AI & Analytics: Azure Data Lake as Your Innovation Platform
Step 3: Configure Private User Credentials and Create Container
=> Configure private user credentials and create container in storage account.
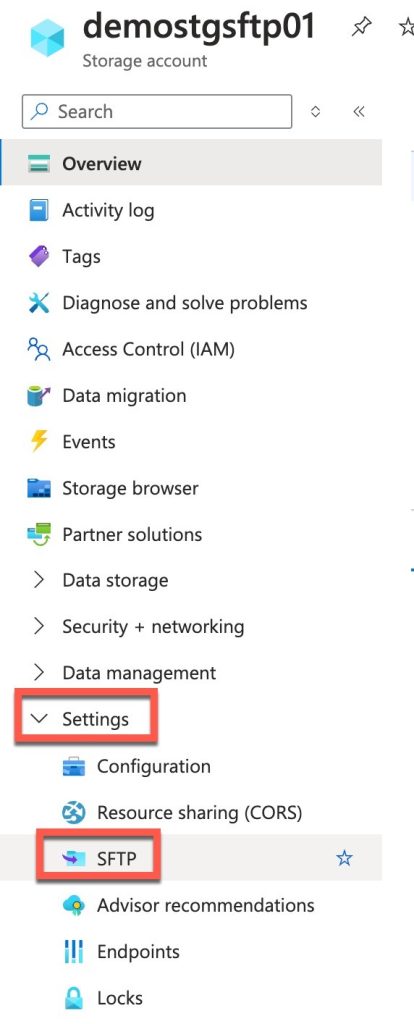
=> Go inside the created storage account, and on the left navigation panel, expand Settings and you will find SFTP option there.
=> Click Add local user.

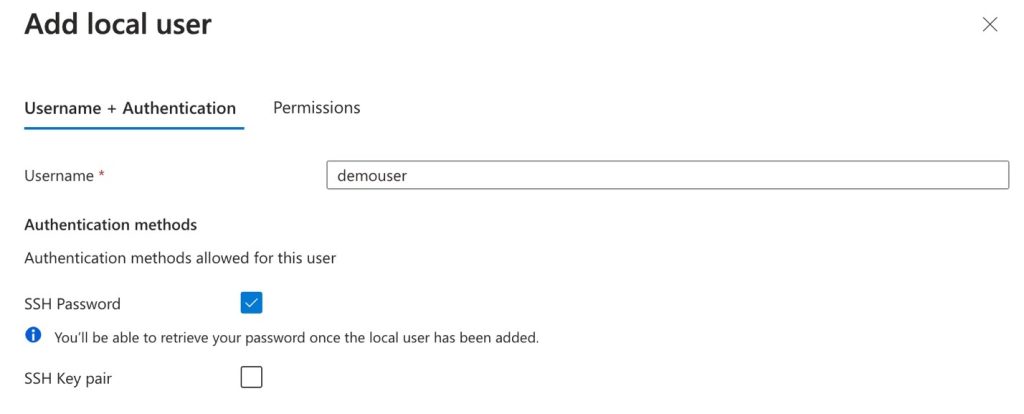
=> In the user + authentication tab, configure the following.
=> Create a new container and mention the same container name in Landing directory.
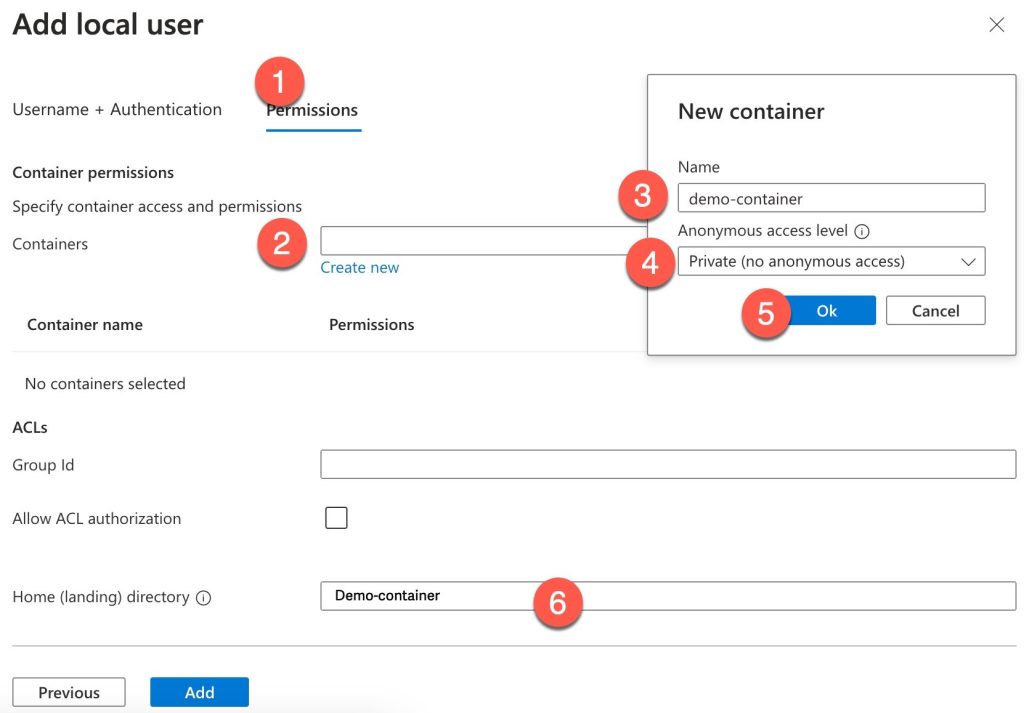
=> Select all permissions for the container.
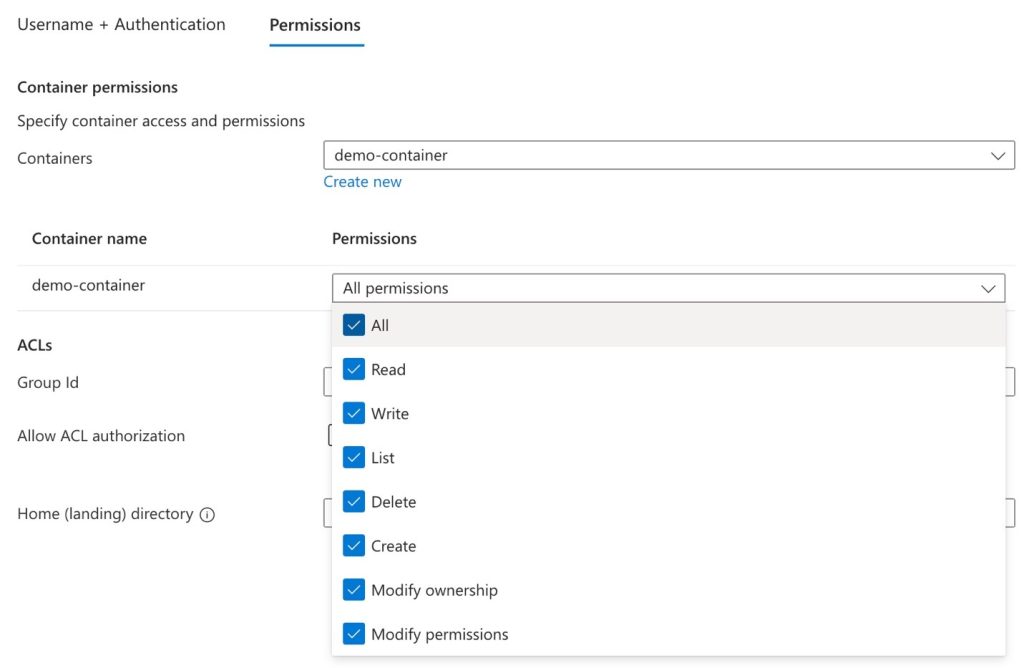
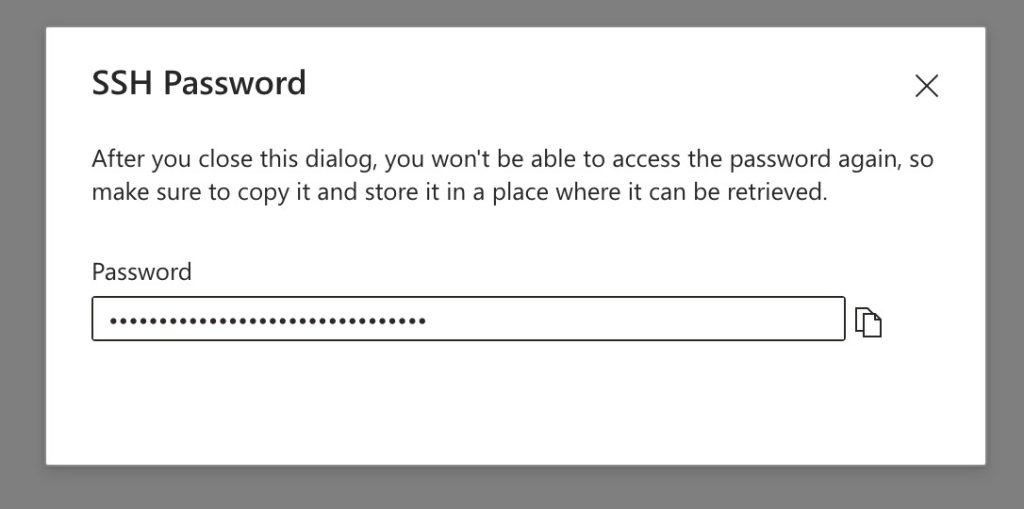
=> Once you click Add button, you will see a popup showing the SSH password. Copy and keep it somewhere handy. We will use this password when we connect to this container with .NET development services.
=> Finally you will see all container details with user details like below in SFTP enabled Azure BLOB Storage page.

Step 4: Add some Sample Files inside the Container Folder
=> Go to the containers option like below and you should see the container that we created in the previous step.

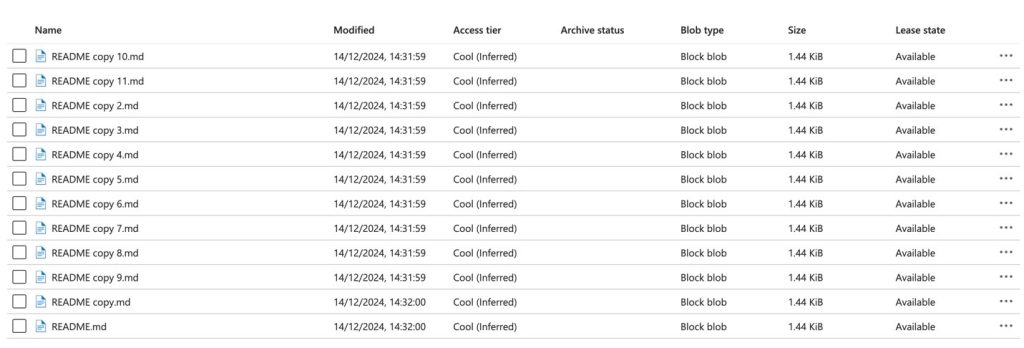
=> Click on the container name and click Upload button. Once you click Upload button, you can upload any sample files which you want using the dialog box with Browse for file option.

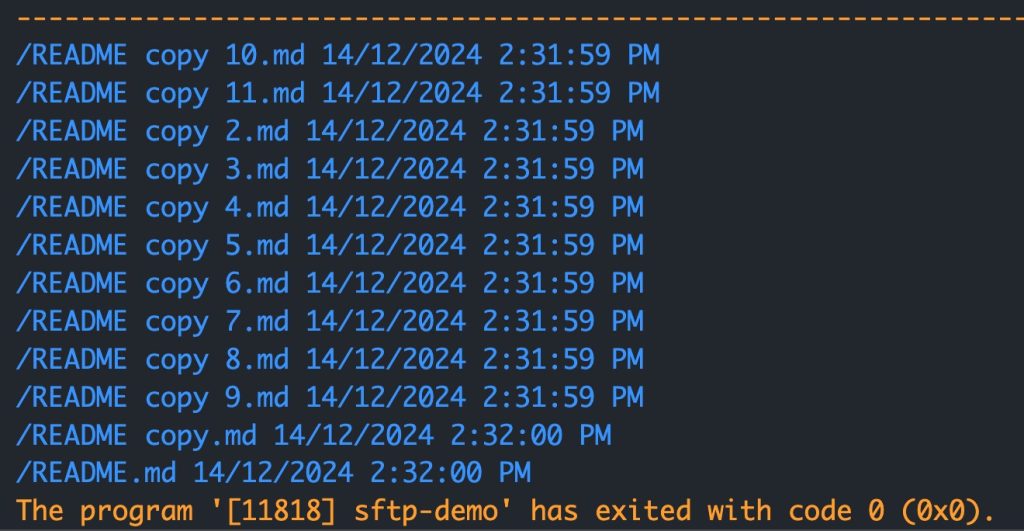
=> I have uploaded 12 files like below.
Step 5: Creating .NET Console App
=> Creating .NET console app and access the above container with the app using the private credentials.
=> Go to the terminal and open a folder inside it. Then use the following command to create the .NET console app using .NET CLI.
dotnet new console -lang “C#”

=> The Nuget package that we are using is SSH.NET. You can install the package using the following command.
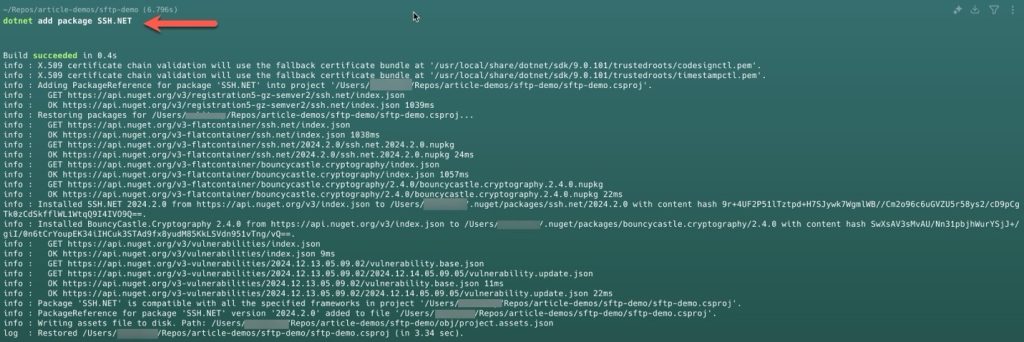
=> Once the package is installed, open the project in VS Code. You can see the package reference in .csproj file.
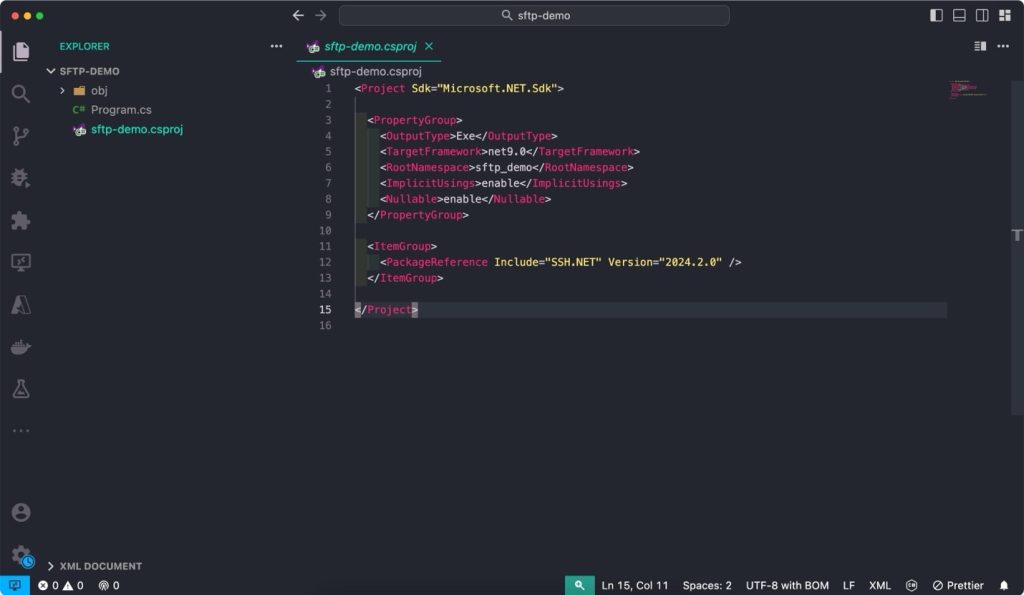
=> Open Program.cs file and use write the code shown below.

=> The above is very simple and self-explanatory. We are just creating a SFTP client object and passing hostname, username and password.
=> Client object connects to the SFTP enabled Azure BLOB Storage container and lists all the files inside the home directory.
READ – Data Factory in Microsoft Fabric: Features and Benefits
=> Run the program using F5 button, you should see the following output in the output window. In the output, you can see the files that we uploaded in the Azure container.
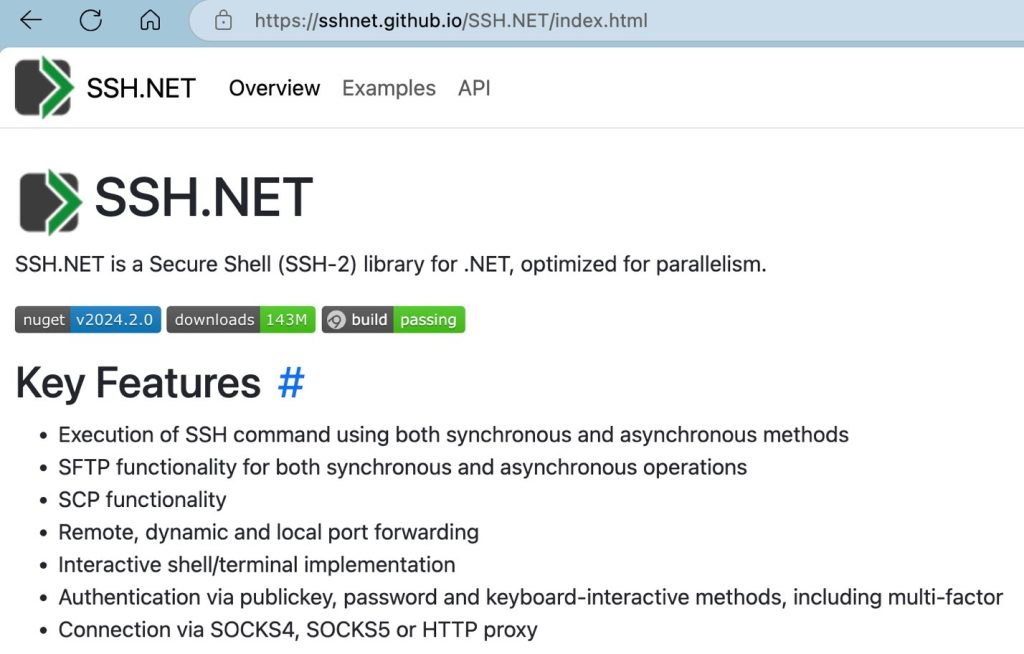
=> SSH.NET is a powerful library and you can use it for many features. Below is a screenshot from its official website. You can explore more on it.
Read more:


