What is GraphQL?
Efficient data retrieval is critical in today’s data-driven world. An appealing substitute for conventional REST APIs is GraphQL, an open-source query language created by Facebook and published in 2015. It allows users to request exactly the data they need while maximizing efficiency and reducing data transfer. By integrating .NET 8 API with GraphQL, you gain flexibility, performance, and a better developer experience.
GraphQL allows clients to retrieve multiple resources in a single request, in contrast to REST, which frequently leads to over-fetching (retrieving more data than needed) or under-fetching (requiring multiple requests to gather necessary information). Because it removes inefficiencies and simplifies data access, GraphQL has been used by companies like Facebook and GitHub to improve the performance of their APIs. It easily integrates with a number of .NET platforms, such as Azure Functions, and ASP.NET Core web applications.
The single endpoint design of GraphQL streamlines API design, lowering complexity and enhancing maintainability. This method provides a versatile, effective, and potent solution for creating contemporary applications.
Principal Benefits of GraphQL
- Accurate Data Requests: Customers provide the precise data they require, reducing needless data transfer and optimizing efficiency. This focused strategy is essential for increasing response times and optimizing bandwidth usage.
- Complex Query Handling: GraphQL is very good at managing intricate data connections. It makes data retrieval easier for applications with complex data structures by enabling clients to request nested and related data in a single query.
- Optimized Data Fetching: GraphQL guarantees that clients receive only the necessary data by removing over-fetching and under-fetching, reducing redundant data transfer and improving overall efficiency.
Leveraging Hot Chocolate for .NET 8 API with GraphQL Development
Hot Chocolate is a robust, open-source GraphQL server specifically designed for the Microsoft .NET ecosystem. It simplifies the process of building GraphQL APIs within .NET applications development services, providing a range of features and benefits. It provides three main methods for GraphQL schema definition:
- Schema-First: Use the Schema Definition Language (SDL) to define the GraphQL schema, and then use resolvers to retrieve the data. This method provides concern separation and type checking.
- Code-First: Use C# classes to define data models, and Hot Chocolate will automatically create the GraphQL schema that goes with them. This method uses pre-existing code structures to expedite development.
- Annotation-Based: This approach defines the GraphQL schema directly in the code by using attributes to annotate C# classes and methods. A succinct and comprehensive development experience is provided by this method.
READ – GraphQL for ReactJS: Mastering Data Fetching in 2025 and Beyond
Principal Benefits of Hot Chocolate
- Ease of Use: Hot Chocolate offers a fluent API and user-friendly tools for schema definition, query execution, and data fetching, making it easier to develop GraphQL APIs with.NET.
- Performance Optimization: Caching techniques, effective data loading techniques, and query optimization are all part of Hot Chocolate’s performance-enhancing architecture.
- Platform Flexibility: Hot Chocolate facilitates the development of GraphQL APIs for a variety of application types by supporting a broad range of .NET platforms and deployment scenarios.
- Customization and Extensibility: Hot Chocolate provides a wide range of middleware components and features that can be expanded and modified to satisfy particular project needs.
- Strong Community Support: Hot Chocolate has a thriving community and extensive documentation, which gives developers access to a wealth of resources and assistance.
Demo
Now, let’s create a demo using .NET 8 API with GraphQL integration with Hot Chocolate wrapper.
Pre-Requisite
- .NET 8 SDK
- Visual Studio code
- Basic understanding of REST API concepts
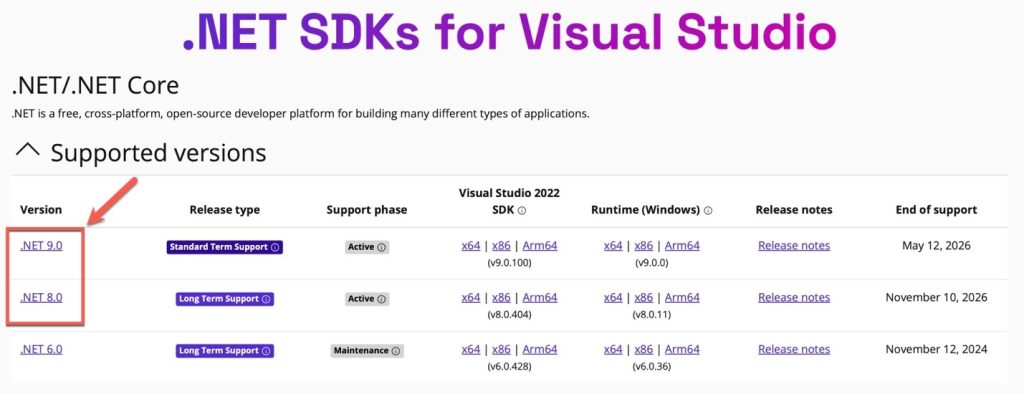
=> Download .NET SDK for Windows or Mac based on your operating system from https://dotnet.microsoft.com/en-us/download/visual-studio-sdks.
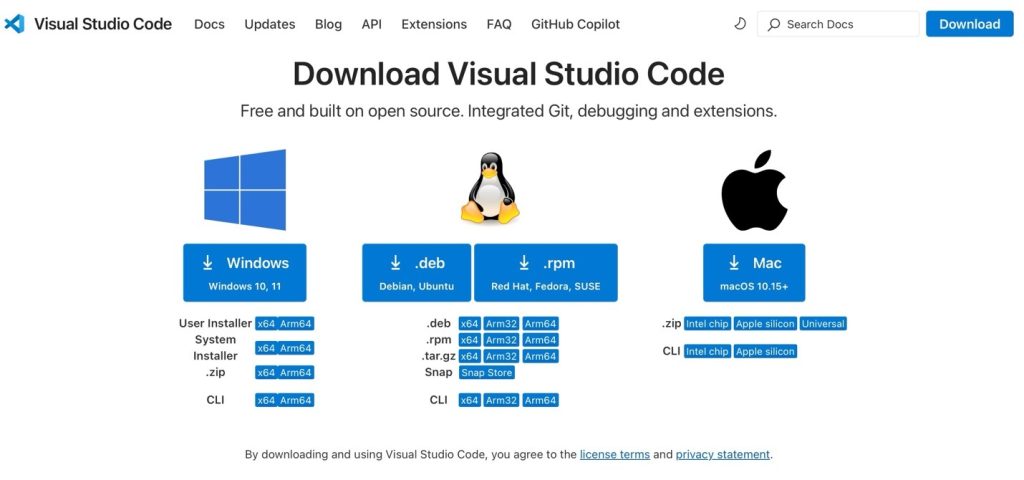
=> Download Visual Studio code from Microsoft’s official website https://code.visualstudio.com/Download
Once you install .NET SDK, type the below command and you should see the result like below. If the result is something different, then there might be some issue with .net installation.

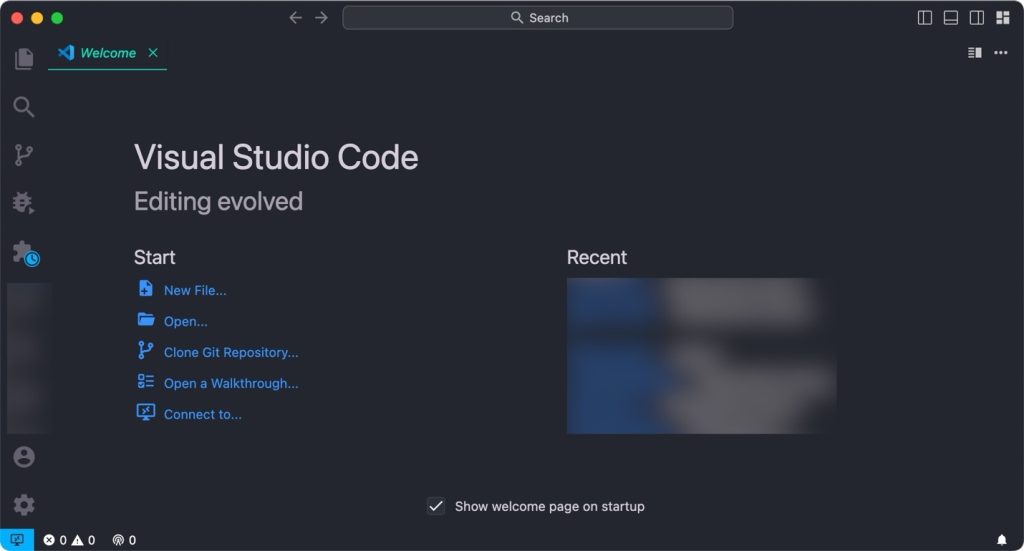
Once you install VS Code, just type “code .” In the terminal, and it should open Visual Studio Code GUI.
Step 1:
=> Create a new web api project using .NET CLI.

Step 2:
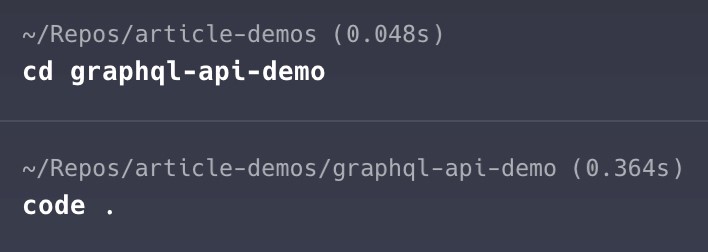
=> Open the newly created project in Visual Studio Code.
Step 3:
=> Install the below 3 Hot Chocolate packages to integrate .NET 8 API with GraphQL.


=> Your .csproj file should look like this.

Step 4:
=> Create a file named ModuleInfo.cs in the Properties folder and write the below code. This file will tell the .NET to include Module of types from Hot chocolate package.

Step 5:
=> Create a new folder named Types and add the following files with the corresponding code.
=> We are creating a very basic example of an employee who belongs to a department.
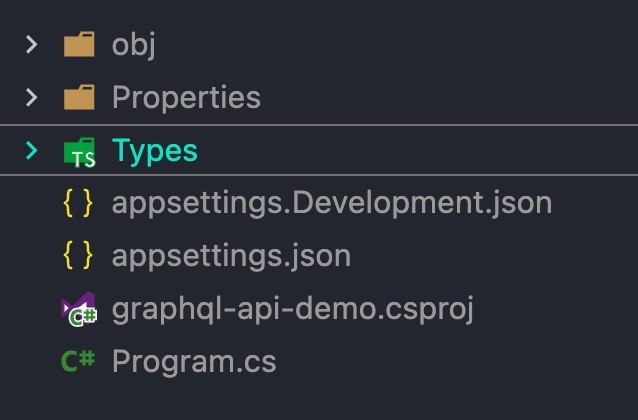
=> Here we create Department having a name.

=> Here we create an employee who belongs to a department.

=> Finally we create a query with some hardcoded employee and department. The main item to focus here is the QueryType attribute. This is responsible for telling the hot chocolate that this is a schema relationship.

Step 6:
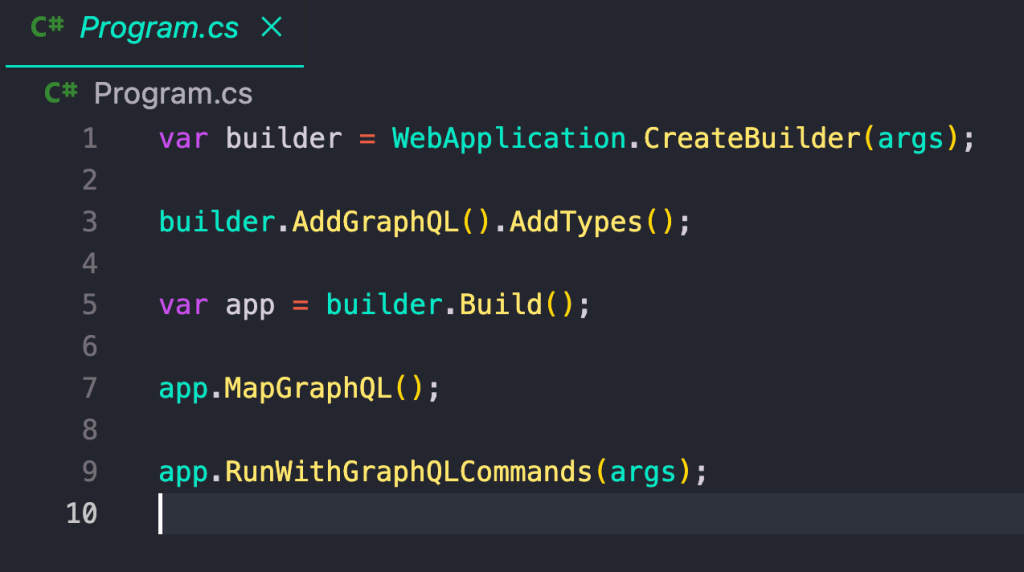
=> Update the program.cs file code with the below code. Here we are adding GraphQL to the pipeline and also adding types so that it can create a schema relationship of Employee and Department.
=> MapGraphQL method creates the GraphQL endpoint, which is the only single endpoint that will be exposed to the outer world for consumption.
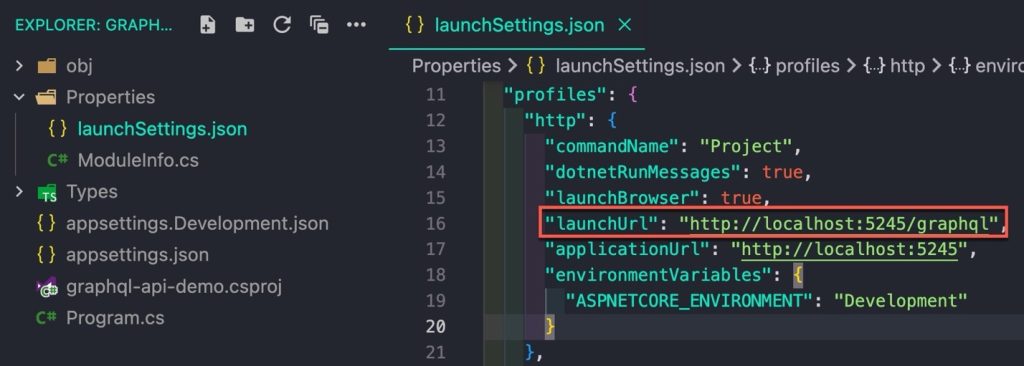
=> Update the launchSettings.json file configuration to use graphql as the entry point. I have changed the launchUrl to use GraphQL server.
=> The /graphql is added by the MapGraphQL method of Program.cs file.
Step 7:
=> Run the application using the following command.

Step 8:
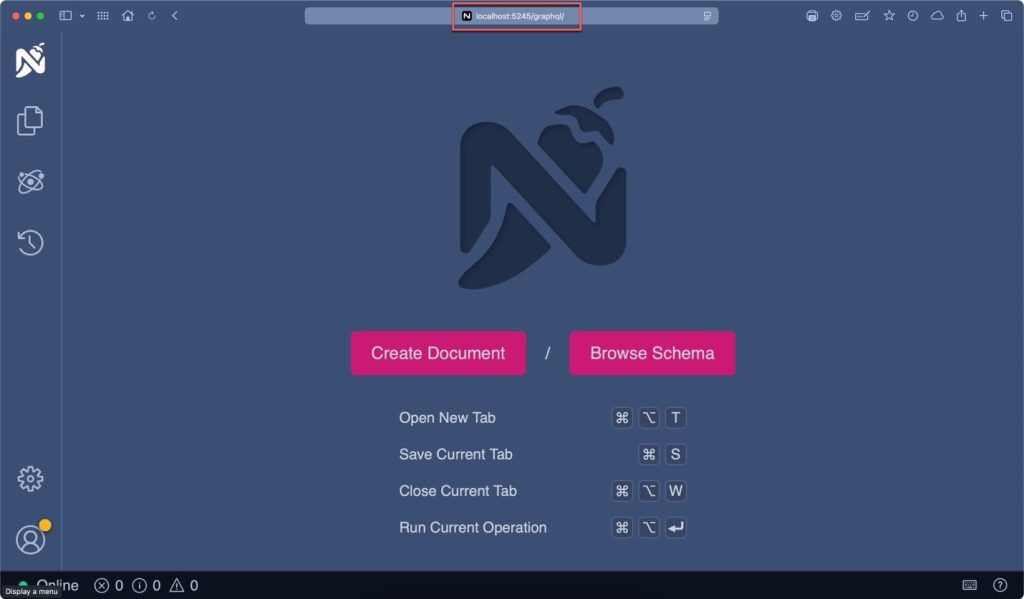
=> Go to the http localhost URL and you should see the GraphQL Nitro interface.
Step 9:
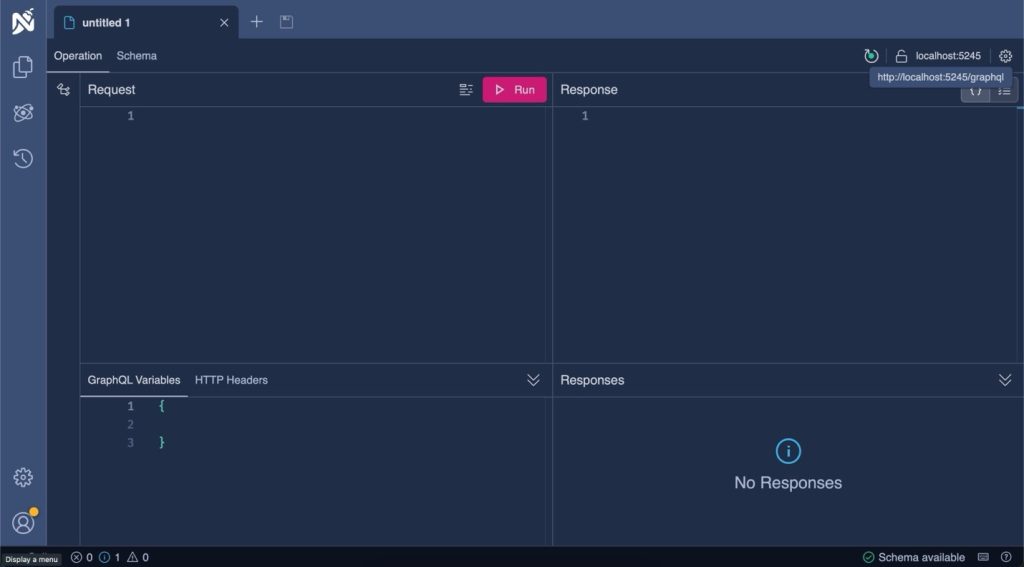
=> Click on Create Document and you shall see the playground.
=> In the playground, you can see the URL of the API on the top right corner. And in the Bottom right corner, you can see that the schema is available which means it is able to create a schema of the available types in the code, in this case, employee and department.
Step 10:
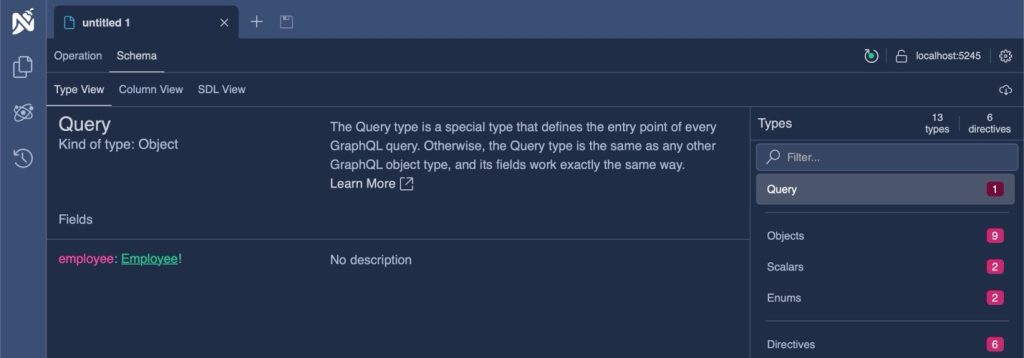
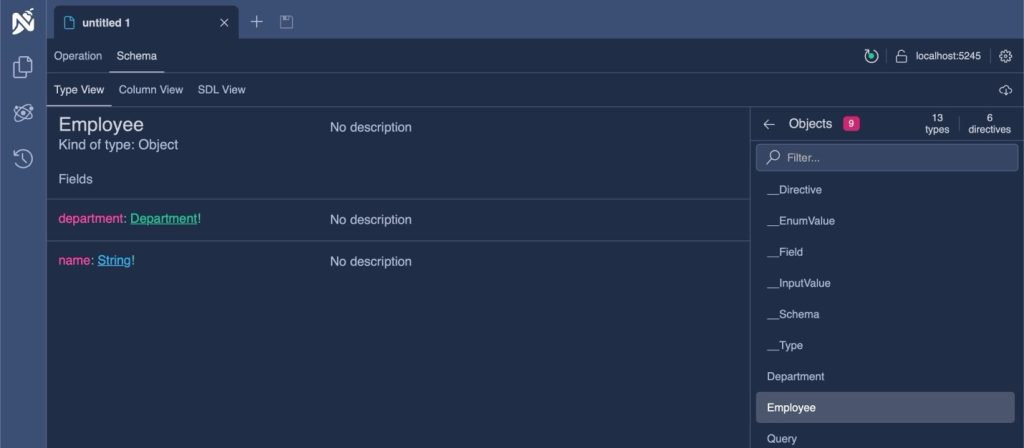
=> Click on Schema button, and you should see the exact Schema that we created with Employee and Department.
Step 11:
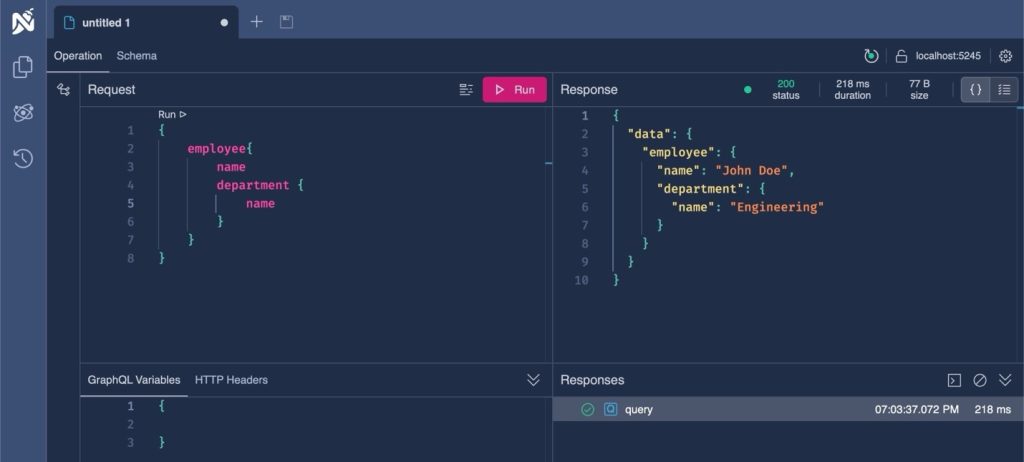
=> Let’s try to execute a GraphQL query where we will pull all employees with their department name.
Step 12:
=> For instance, I only want to pull employee names, so I can rewrite the query like this.
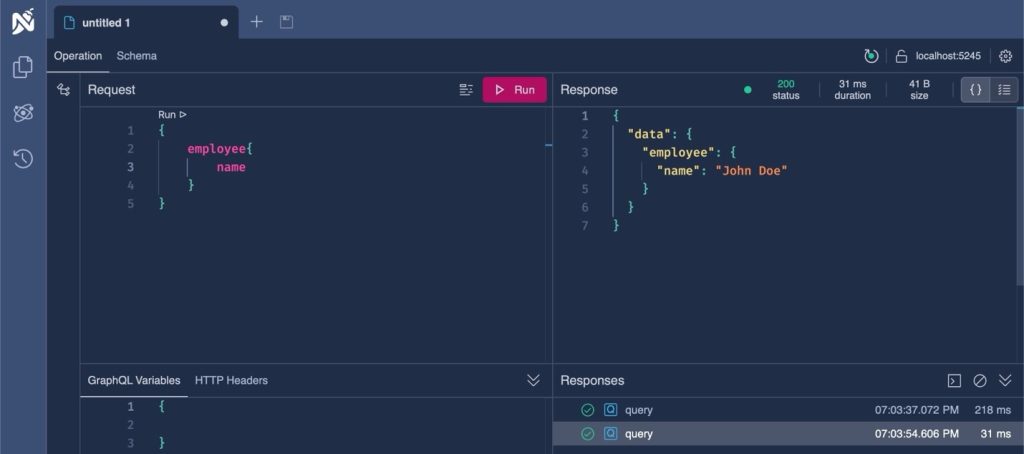
So, in last two steps, you saw that we can modify the request payload as per the need. In first example, we needed both employee and department with a relationship. And in second example we only needed employee names. The magic of GraphQL is that you don’t have to make any code change to make this happen unlike REST API.
You can generate the required response on demand without the need to make any code change. This makes .NET 8 API with GraphQL a better choice for apps which have more data processing and frequency is high.
Hope you can understand the concept and it is highly customizable. You can research more on .NET 8 API with GraphQL features like mutations, subscription, etc.
Read More Related Insights:

